From blank canvas to finished painting: My full process
Last month I talked about the emotional journey of making a painting — the enthusiasm of the start, the faith required in the middle, and the critical moment of knowing when to stop. This month I want to get more practical: the materials I use, the steps I follow, and why each decision matters to the quality of the finished work.
STEP 1: THE CANVAS
Everything begins here, and I don't compromise on it.
I only work on 12oz cotton or poly-cotton canvas, professionally stretched onto kiln-dried stretcher bars. Kiln-drying is the detail that matters most — it's what prevents the warping and twisting that can plague lesser frames over time. When you buy one of my paintings, you're buying something built to last, and that starts before I've made a single mark.
Once I have my canvas, I apply up to four coats of Art Spectrum acrylic gesso, sanding between each one. The number of coats depends on how much tooth I need — tooth being the slight roughness of the surface that allows the paint to grip. For the soft, detailed florals I paint, I tend to sand back to a smoother finish. The preparation of a canvas is quiet, unglamorous work, but it's the foundation everything else is built on.
STEP 2: THE DRAWING
First, I draw the composition directly onto the canvas using charcoal or graphite using a variety of compositional techniques depending on the subject matter and various elements in the painting. I use the Rule of Thirds a lot! I then fix this with an aerosol fixative and, once dry, apply a toning layer (imprimatura) over the top.
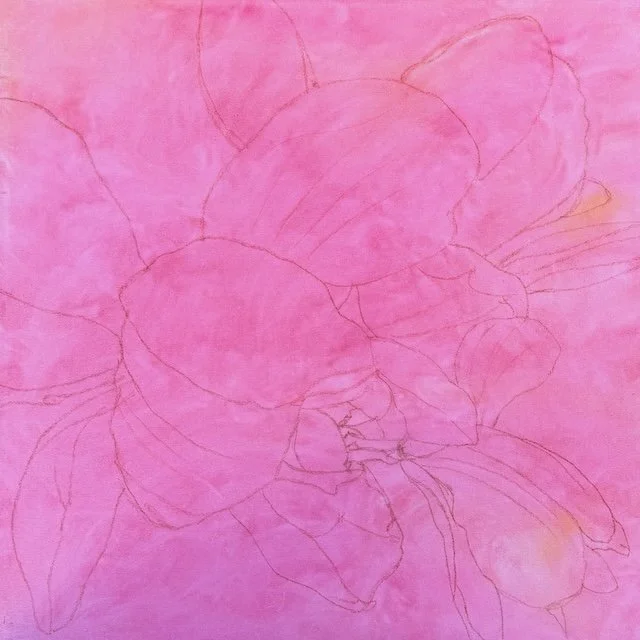
THE IMPRIMATURA
(Magnolias oil painting - detail of a work in progress)
STEP 3: THE IMPRIMATURA
I use a variety of approaches when I start to apply paint. This approach is the one I’m using at the moment:
Lately I've been using Raw Sienna or Quinacridone Rose mixed with Gamblin Gamsol and a small amount Gamblin Galkyd Lite for the imprimatura, and it's giving my current series a warmth and softness I'm completely in love with. That golden undertone quietly influences every layer that comes after it and gets rid of the blank white canvas. I also find it gives a ‘glide’ to the oil paint layers I apply afterwards that you don’t get when skipping this step. I buy the paint and mediums through my local art store here in Armidale or The Sydney Art Store.
STEP 4: UNDERPAINTING
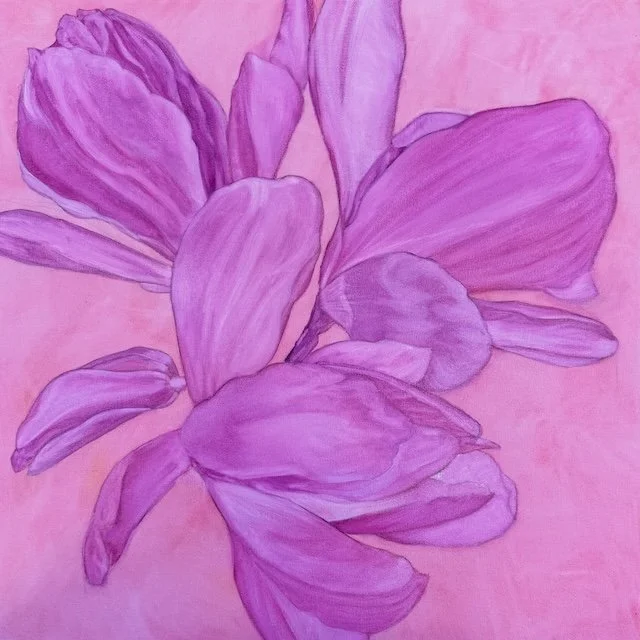
With the imprimatura dry, I begin laying in colour.
At this stage I'm not chasing detail — I'm establishing the painting's structure. I'm looking for the darker value within each hue, getting the broad relationships of colour and tone in place before I start refining anything.
(Magnolias oil painting - detail of a work in progress)
For paint, I use Gamblin or Michael Harding professional oils. For brushes, I'm a devoted fan of Princeton brushes (available from most art supply stores) — mostly synthetic, which suits my style and the smooth, layered work I do when painting florals. I'll reach for a hog's bristle brush when I want more texture, but for the majority of my paintings, synthetic is my default.
STEP 5: MULTIPLE LAYERS, DETAIL & REFINEMENT
This is where the painting starts to become itself.
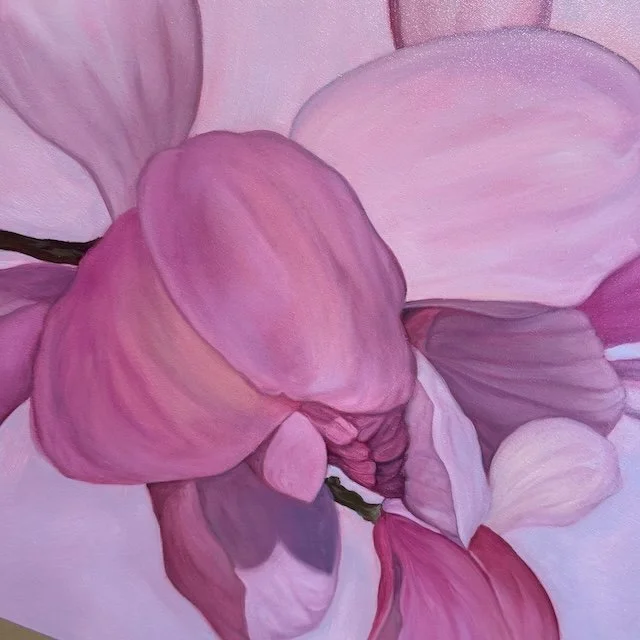
I switch to smaller brushes and begin the work of correcting — colour relationships, values, edges. This might require two passes (layers) before I’m happy.
(Magnolias oil painting - detail of a work in progress)
Some edges in a floral painting need to be crisp and defined; others should dissolve softly into the background, the way a petal might catch light and almost disappear. Getting those calls right, consistently, across an entire canvas, requires a level of sustained focus that I find genuinely demanding. You're making thousands of small judgements in a single session. It's the most technically intensive part of the process, and also the most satisfying when it's going well.
STEP 6: GLAZING
Not every painting needs this step, but when it does — this is my favourite part of the entire process.
Glazing involves applying thin layers of transparent paint over dry underlayers. What it produces is a luminosity that simply cannot be achieved by mixing colours on a palette. Light passes through the glaze, bounces off the layers beneath, and reflects back to the viewer. The result is a glow, a depth, a complexity of colour that looks almost lit from within. If you've ever stood in front of one of my paintings and remarked on the ‘light’ within it, glazing is why.
The critical rule: each layer must be completely dry before the next goes on. I use a Gamblin Galkyd Lite medium in my paints to help move this along, but patience is still part of the technique.
STEP 7: VARNISHING
Once the painting is fully dry, it receives a coat of Gamvar varnish — made by Gamblin, the same brand as my paints and mediums. I use it because it's simply the best I've found, and because it gives me consistency of quality from the very first layer to the last.
Gamvar does more than protect the surface. It saturates the colours beautifully and gives the finished painting an evenness that really lets the work sing. It's also removable — meaning that if, in a hundred years or so, the varnish has yellowed or collected surface grime, a conservator can take it off cleanly and reveal the original colours underneath, completely intact. I think a lot about the longevity of my work, and this is part of that.
STEP 8: FRAMING
The final step, and one I care about just as much as everything that came before it.
My frames are made by SouthernBuoy — solid wood, museum-quality, professionally crafted. A great frame doesn't just protect a painting; it completes it. I won't put my name on something that ends up in a frame that doesn't do the work justice, so I don't.
MY PROMISE TO YOU
From the stretcher bars to the final frame, every decision I make is about quality and longevity. I want the paintings leaving my studio to still be beautiful in a hundred years. That's the standard I hold myself to, and the promise I make to my collectors. I’m about to release a new collection of florals that I’m very proud of - if you’d like to see them before anyone else, sign up below.
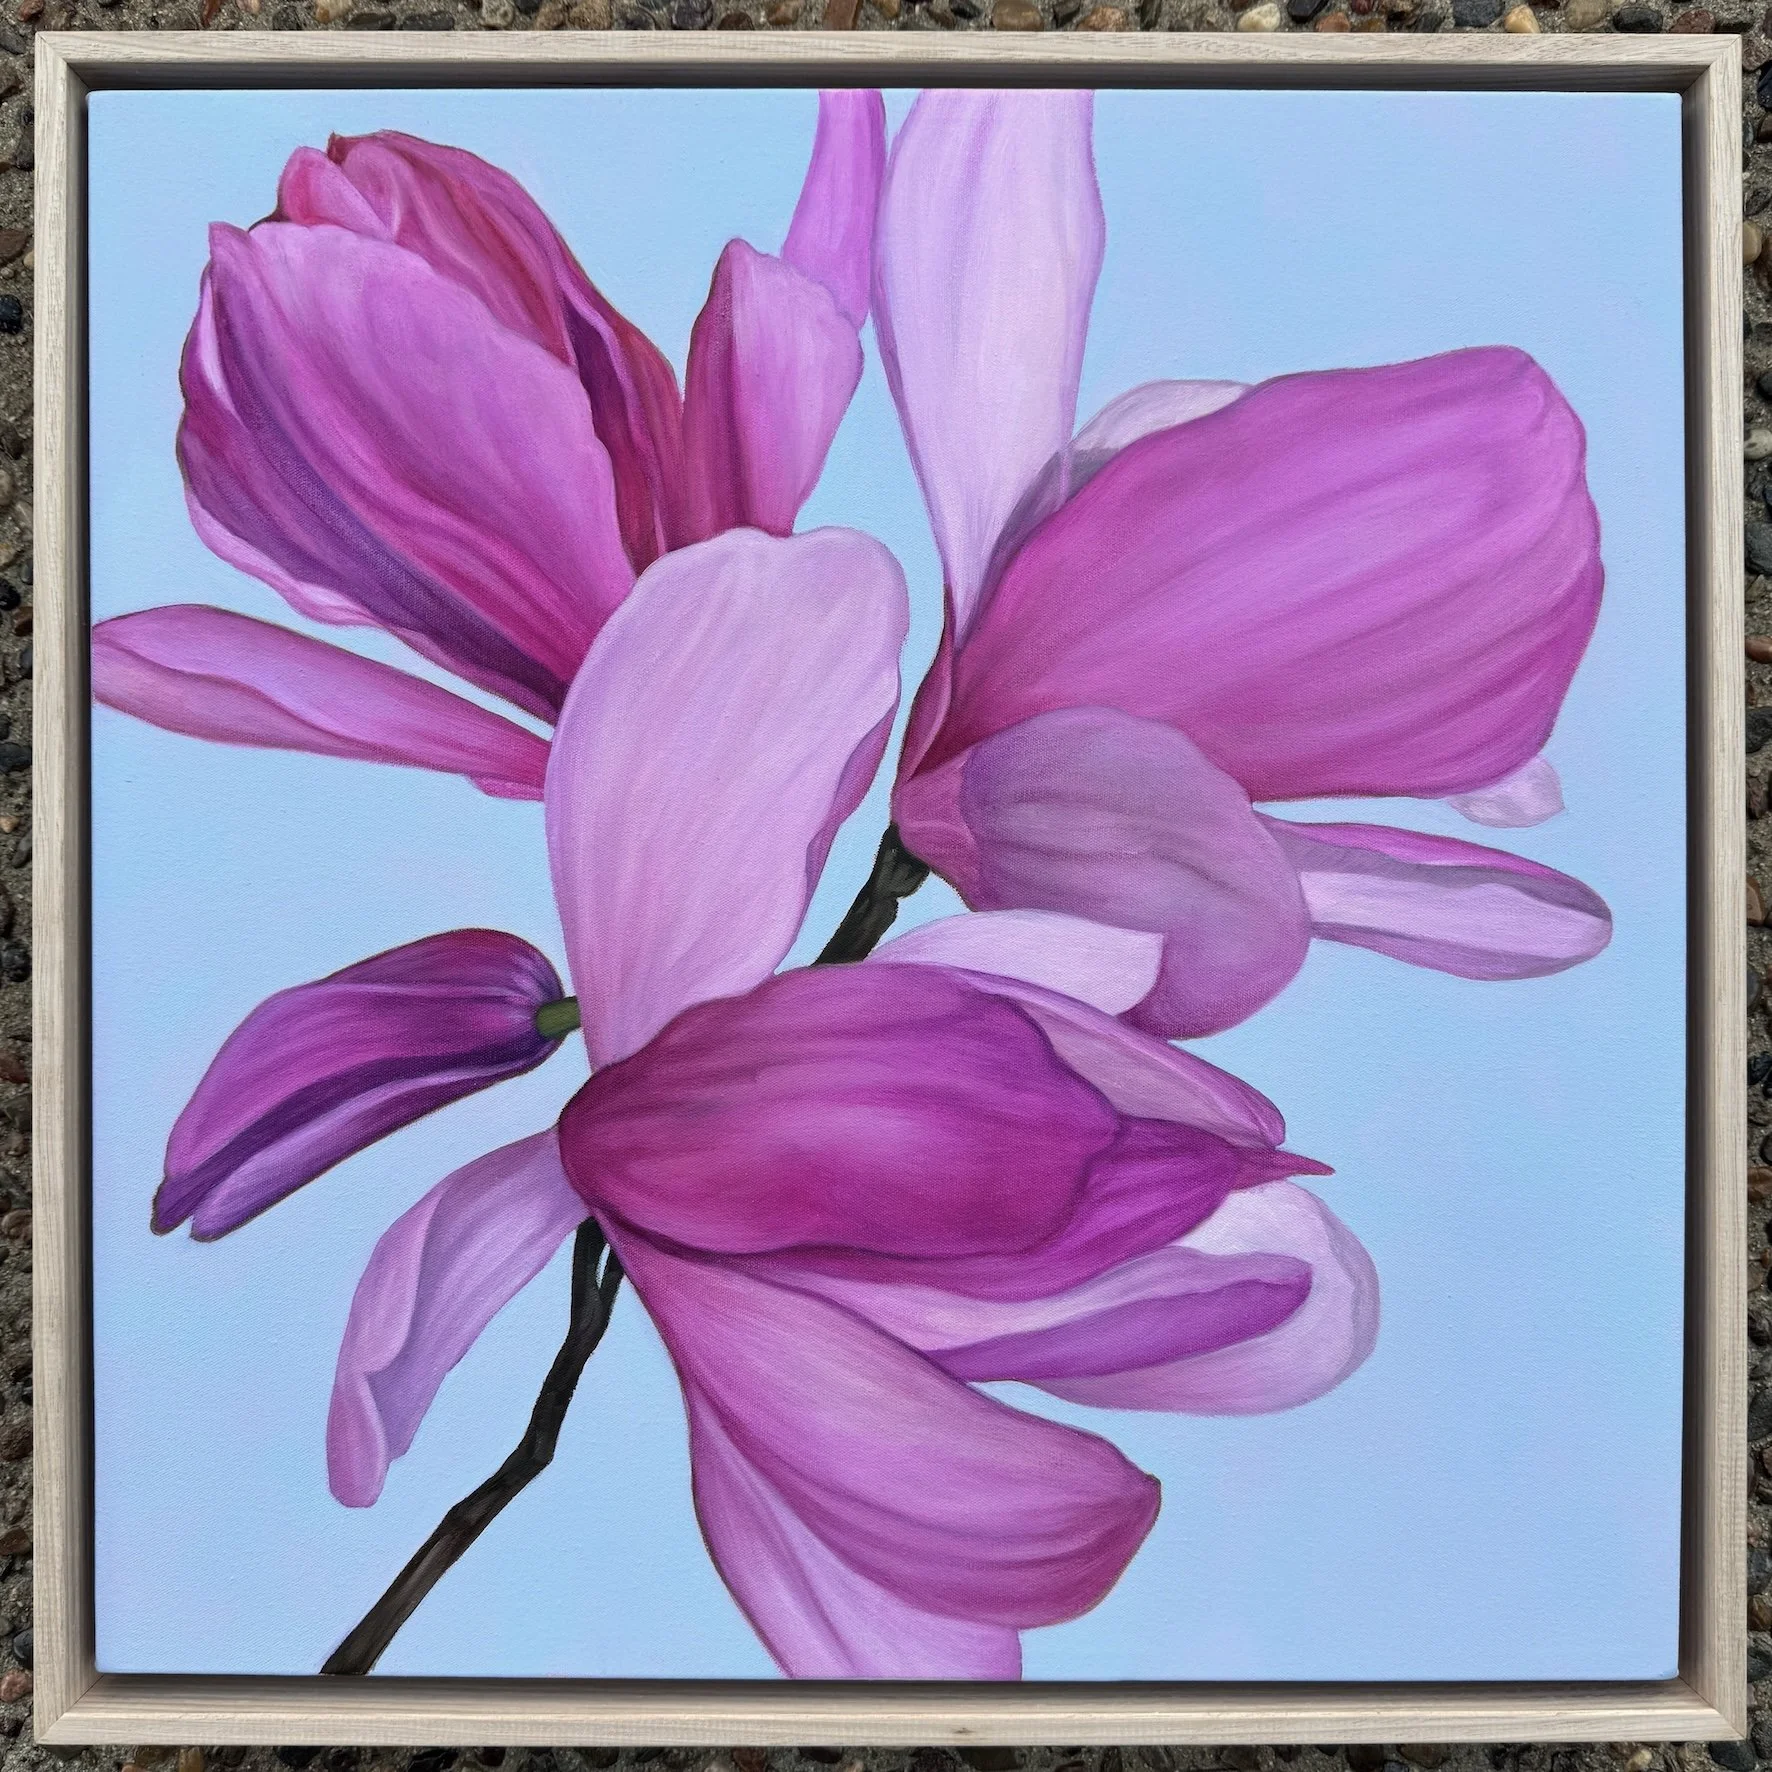
New England Magnolias I - coming soon to my website
STAY IN TOUCH
The best way to keep up with new work or upcoming shows is through my newsletter. I don’t send them out too often, but they include updates on new paintings, upcoming exhibitions, open studio dates and any news from the studio. You can sign up below.
I’d love it if you left a comment or any questions I didn’t answer. Until next time
